How to Fix Camcorder Display Automatic Rotation: Panasonic HC-VX980
I've had this camcorder for 7 years now and I really love it. I have recorded so many videos with it and the image quality looks brilliant. It does not support advanced functions like V-log mode, 10-bit videos, 422 subsampling, etc. That's why I bought myself a professional camera. Here is my review of Panasonic Lumix S5MII and here is an article explaining the above-mentioned terms. But back to Panasonic HC-VX980. Great 4K camcorder! Still worth it even today! Maybe HC-VX981K which is a little bit upgraded.
The Automatic Screen Rotation and Turning On and Off by Opening and Closing the Display Stopped Working
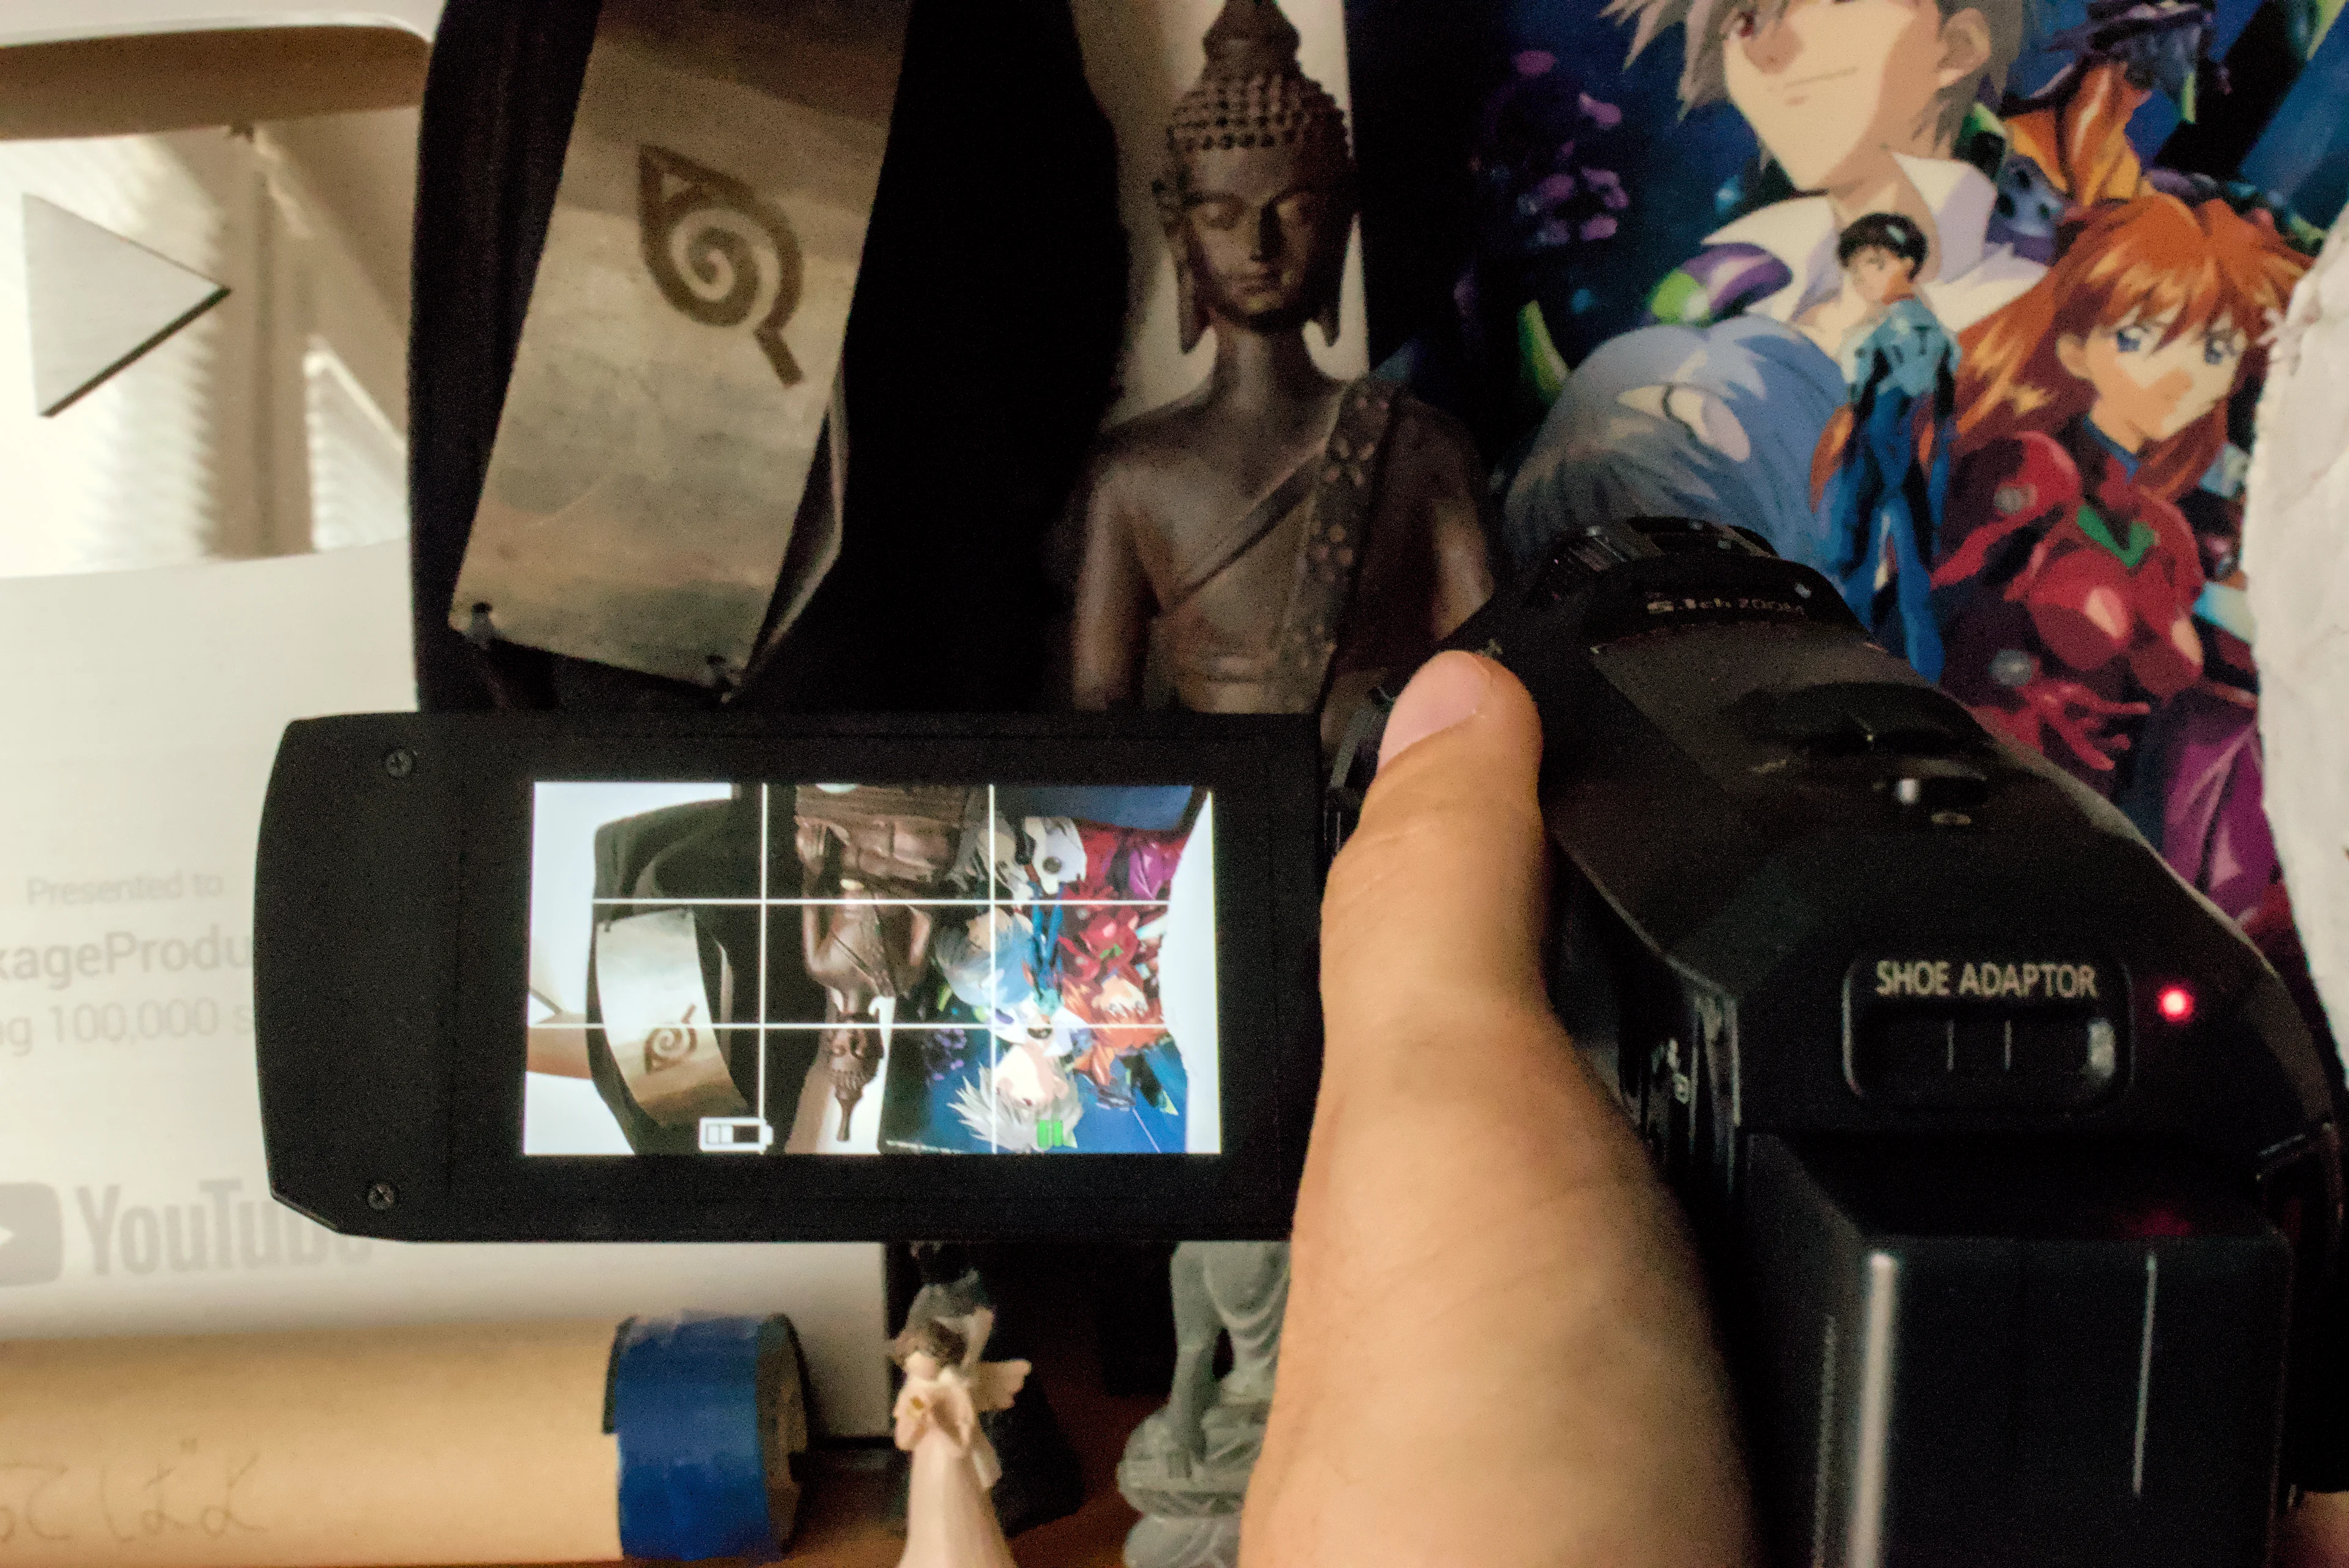
This happened during one filming session in forest. I often rotate the display to see myself when the camcorder is on tripod. The image on the display always rotates accordingly so that I see it in the right orientation and not upside down. At first I noticed that the screen rotates too early, like it became too sensitive. After a few more manipulations with the display, the rotation stopped completely. Another thing that stopped working was the automatic turning off of the camera when the display is closed. Of course, the camera didn't turn on after opening the display either. Pulling out the battery didn't help. What temporarily helped was blowing into the space between the camcorder body and the display. That's why I thought that maybe a dirt got somewhere to the the rotation sensor or is causing some kind of malfunction elsewhere. Below I am describing the process of disassembling and cleaning my Panasonic camcorder but this display problem might be solved in a similar way with other camcorders or cameras as well.
Disassembly of Panasonic HC-VX980
I decided to disassembly the camcorder and check. I am not a HW guy, fortunately I got a helping hand from a super skilled repair enthusiast! I didn't find any disassembly video for this kind of camcorder, only different Panasonic models. Inspired by that we managed to open the camcorder. To get to the display, unfortunately, the whole case of the camcorder needs to be disassembled. The cover at the display cannot be removed directly without removing the surrounding plastic outer parts. So yea, all screws out, don't forget to write down which one belongs to which place. I first suspected to find screws also behind the soft circles that stop the display when closing but there were none. Below photos describe the whole process that helped me to fix the issue:
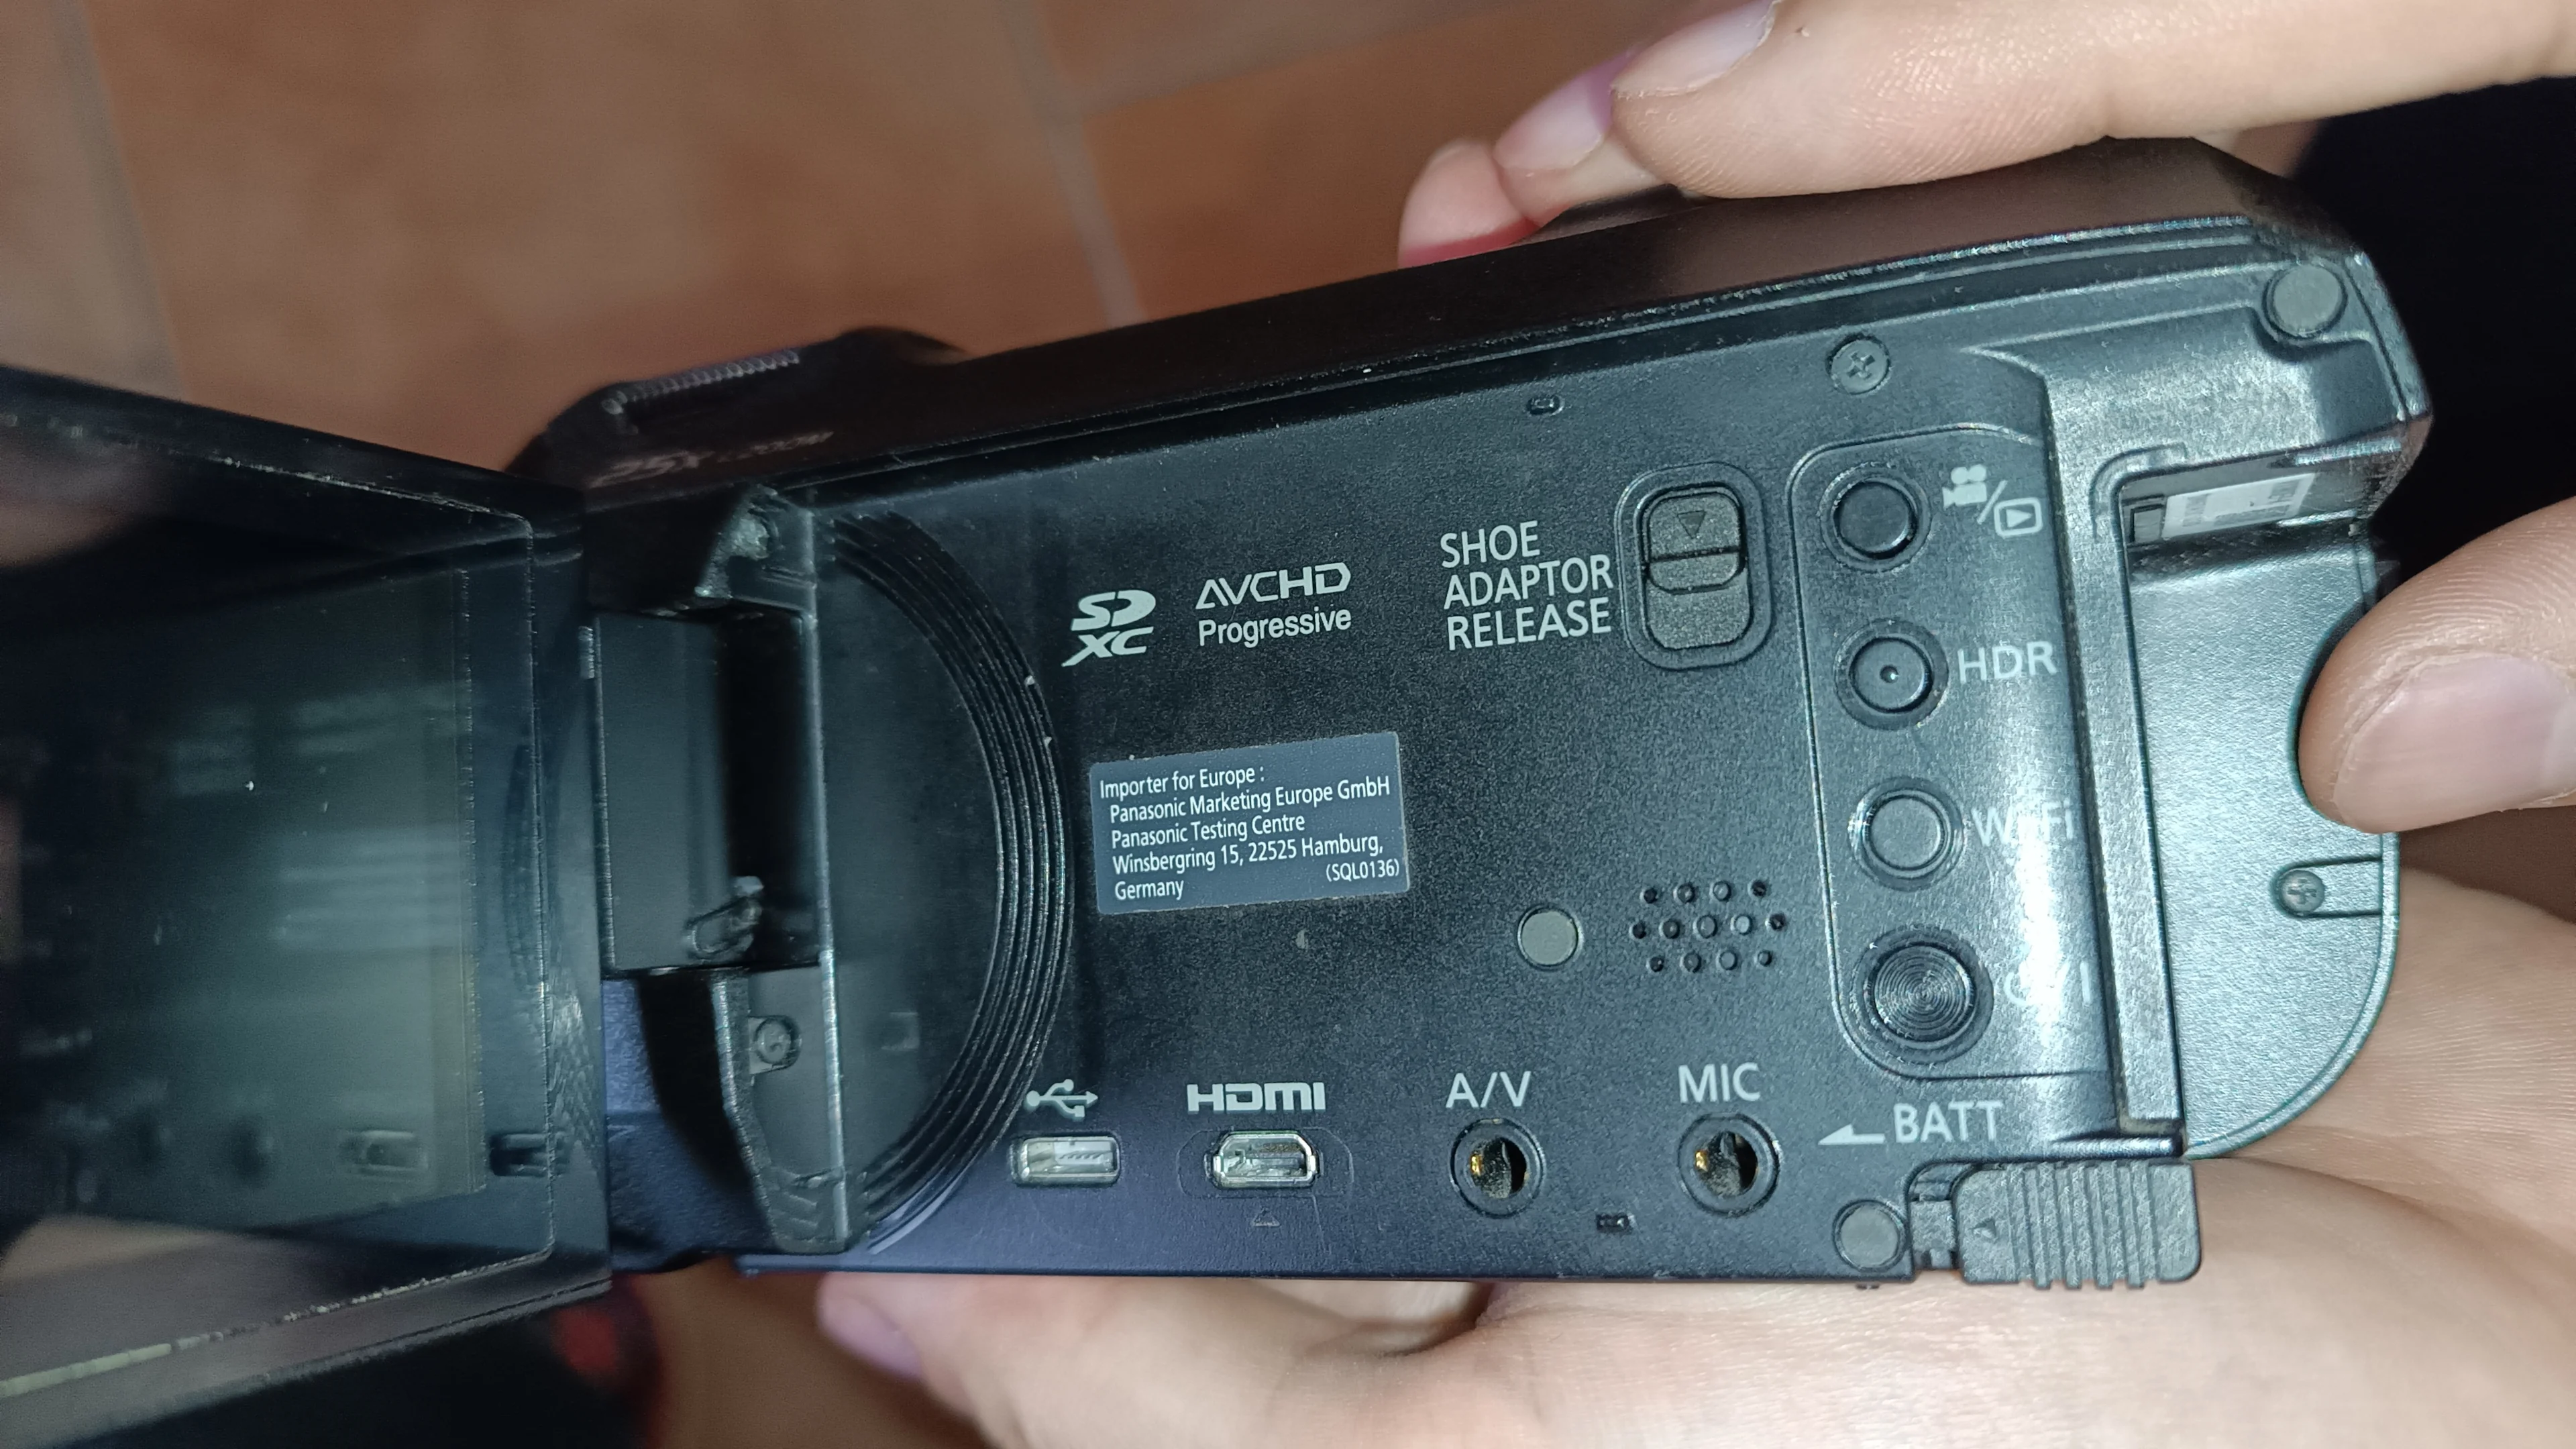
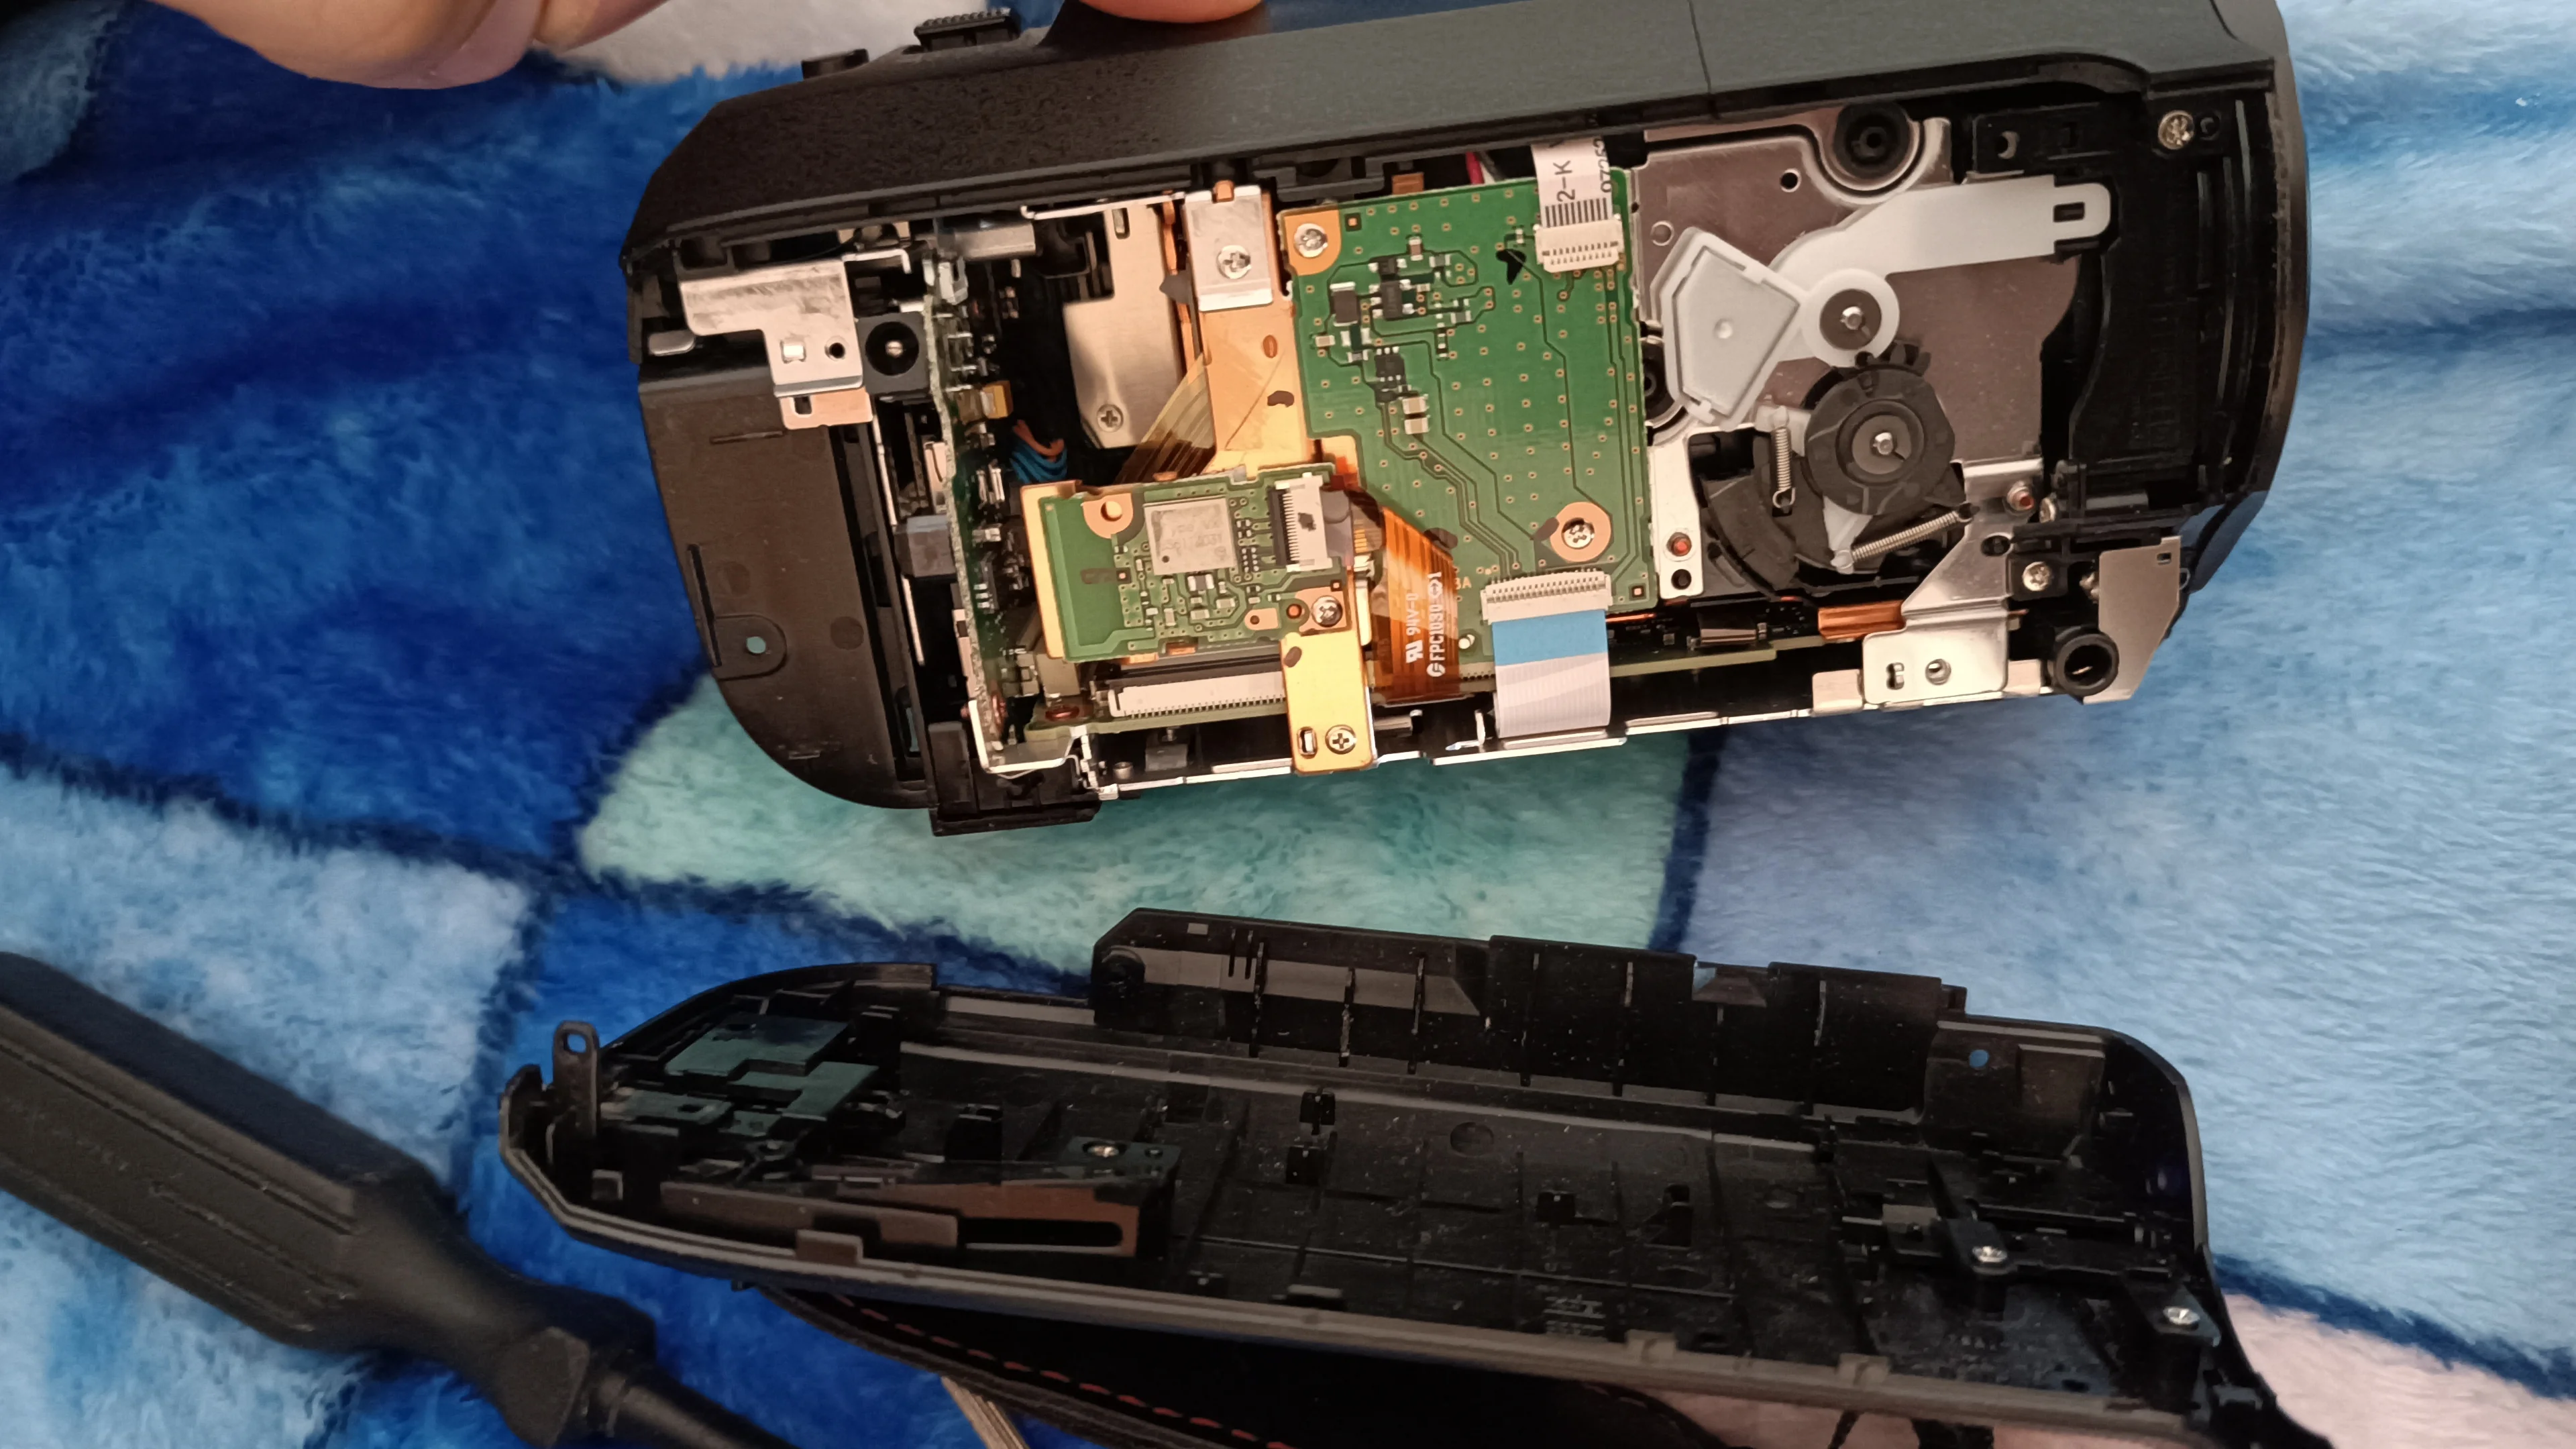

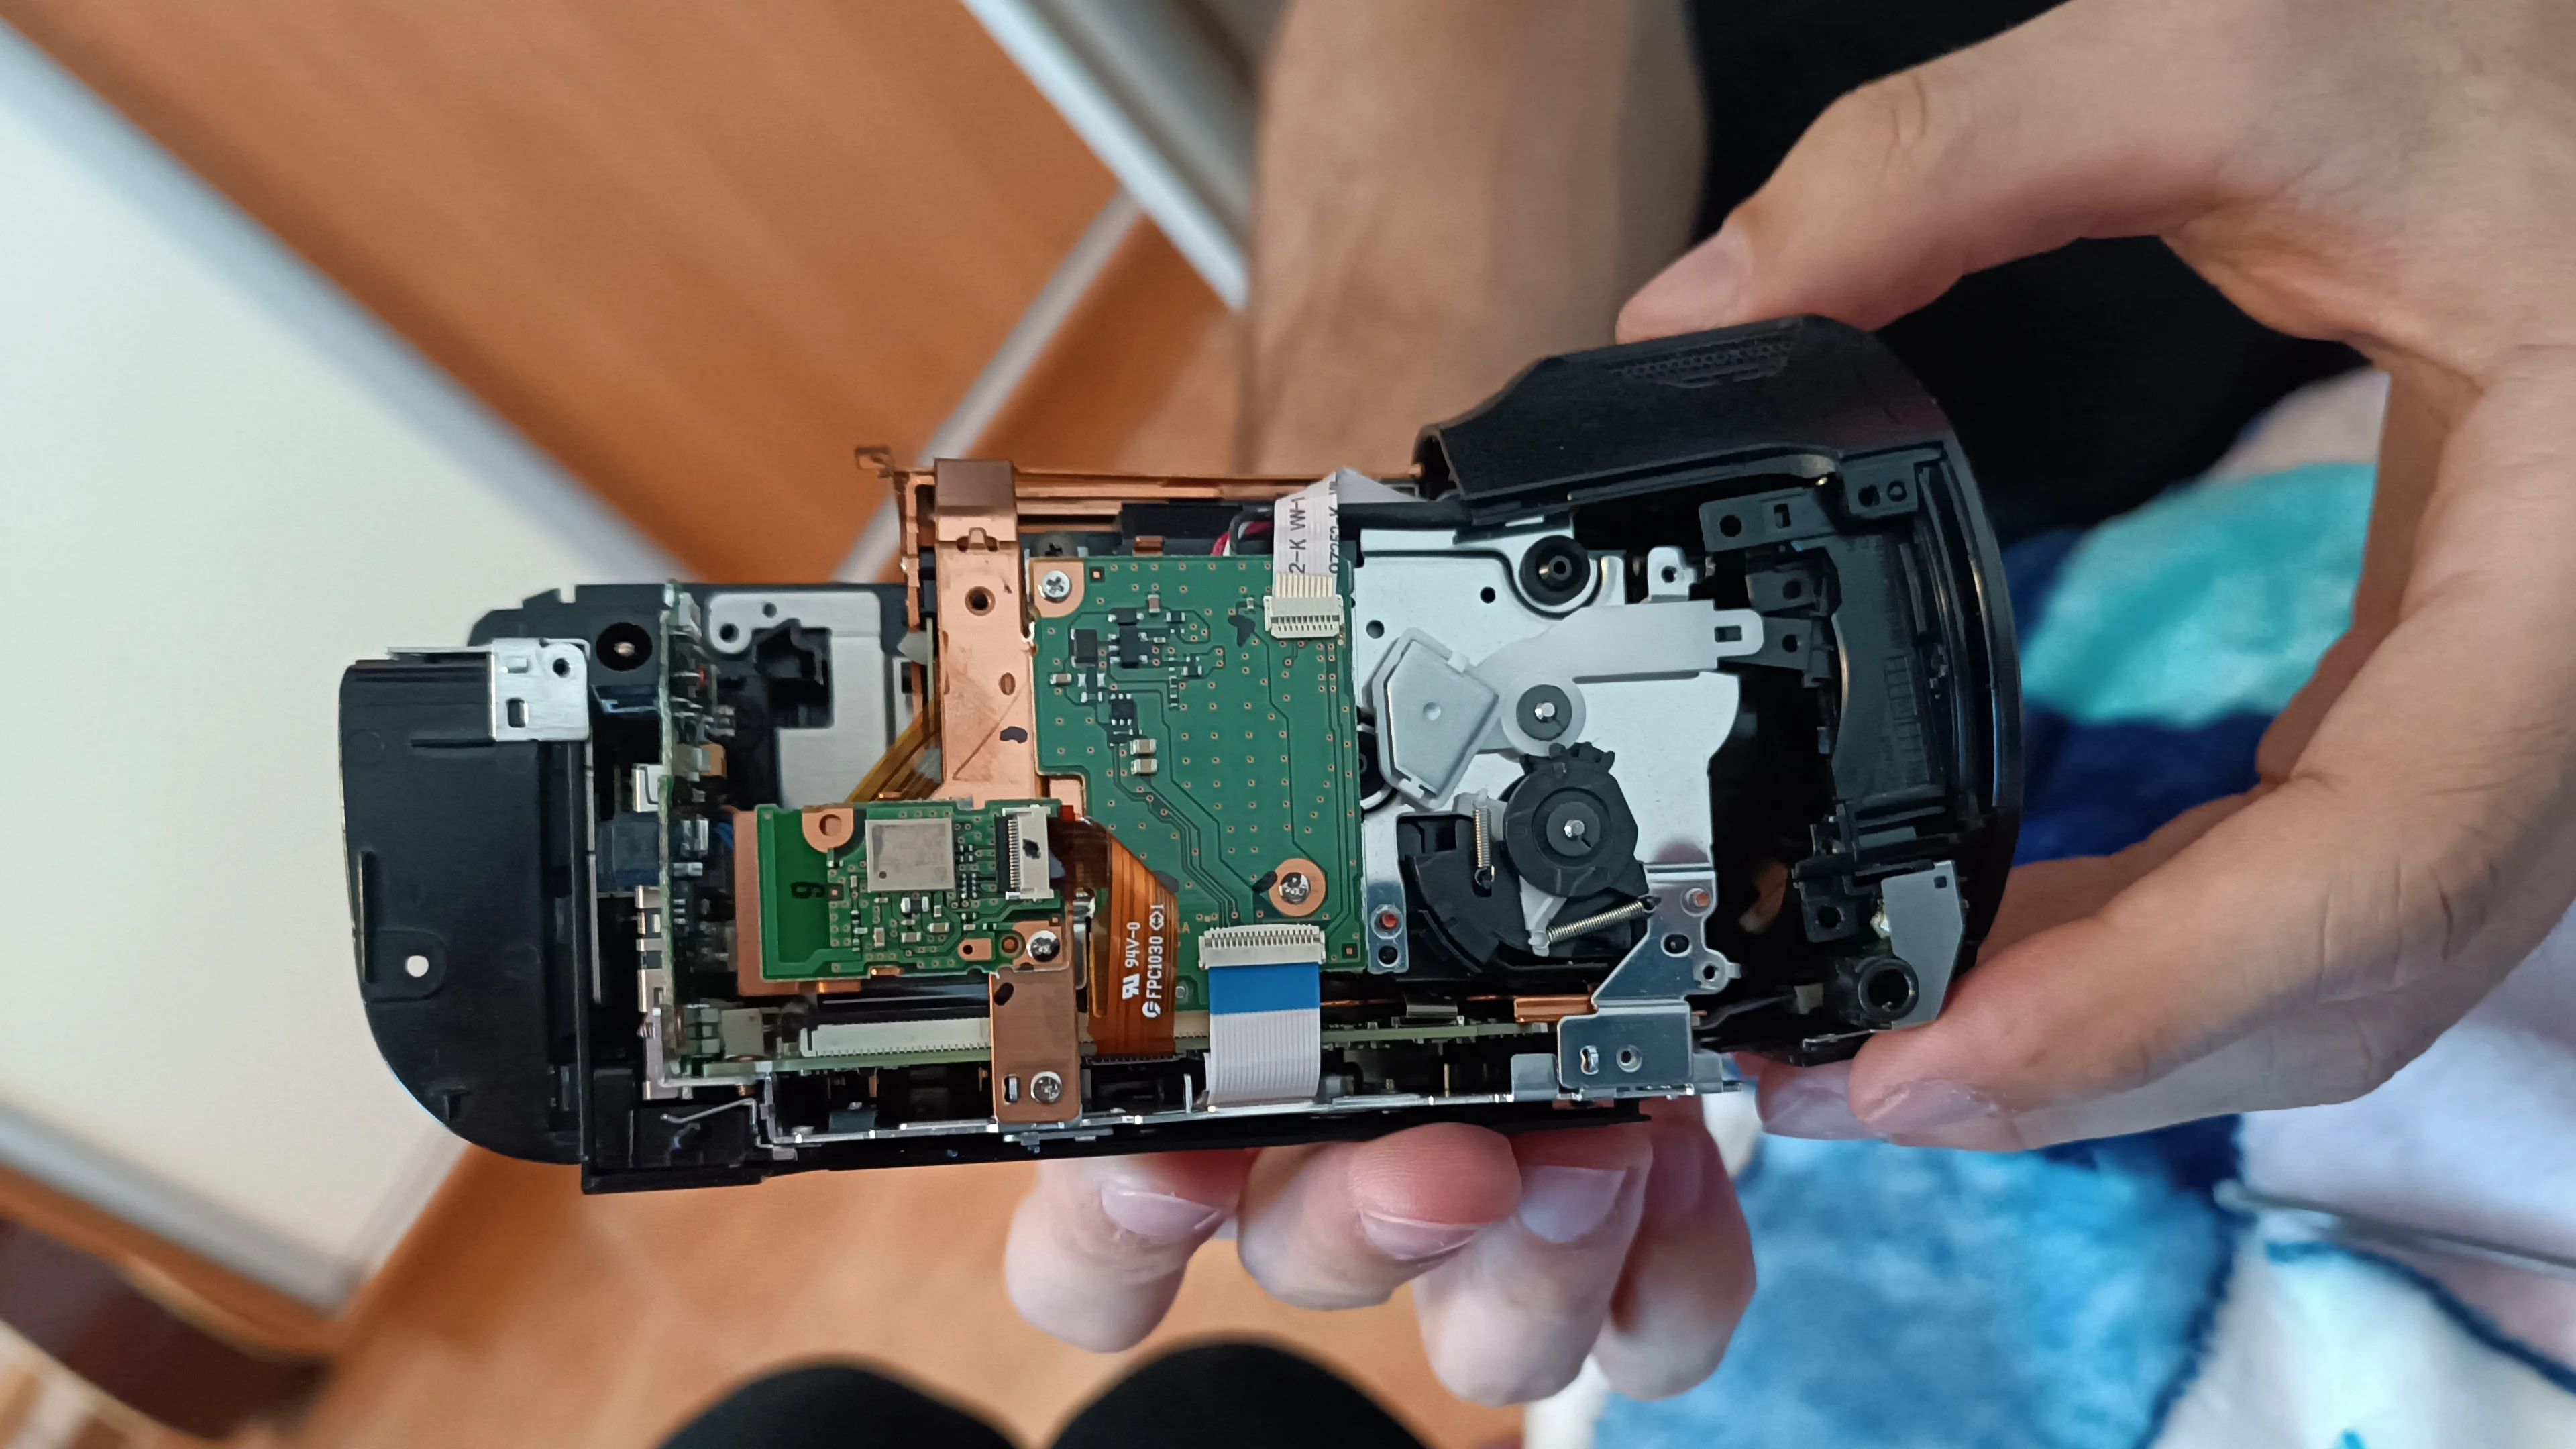

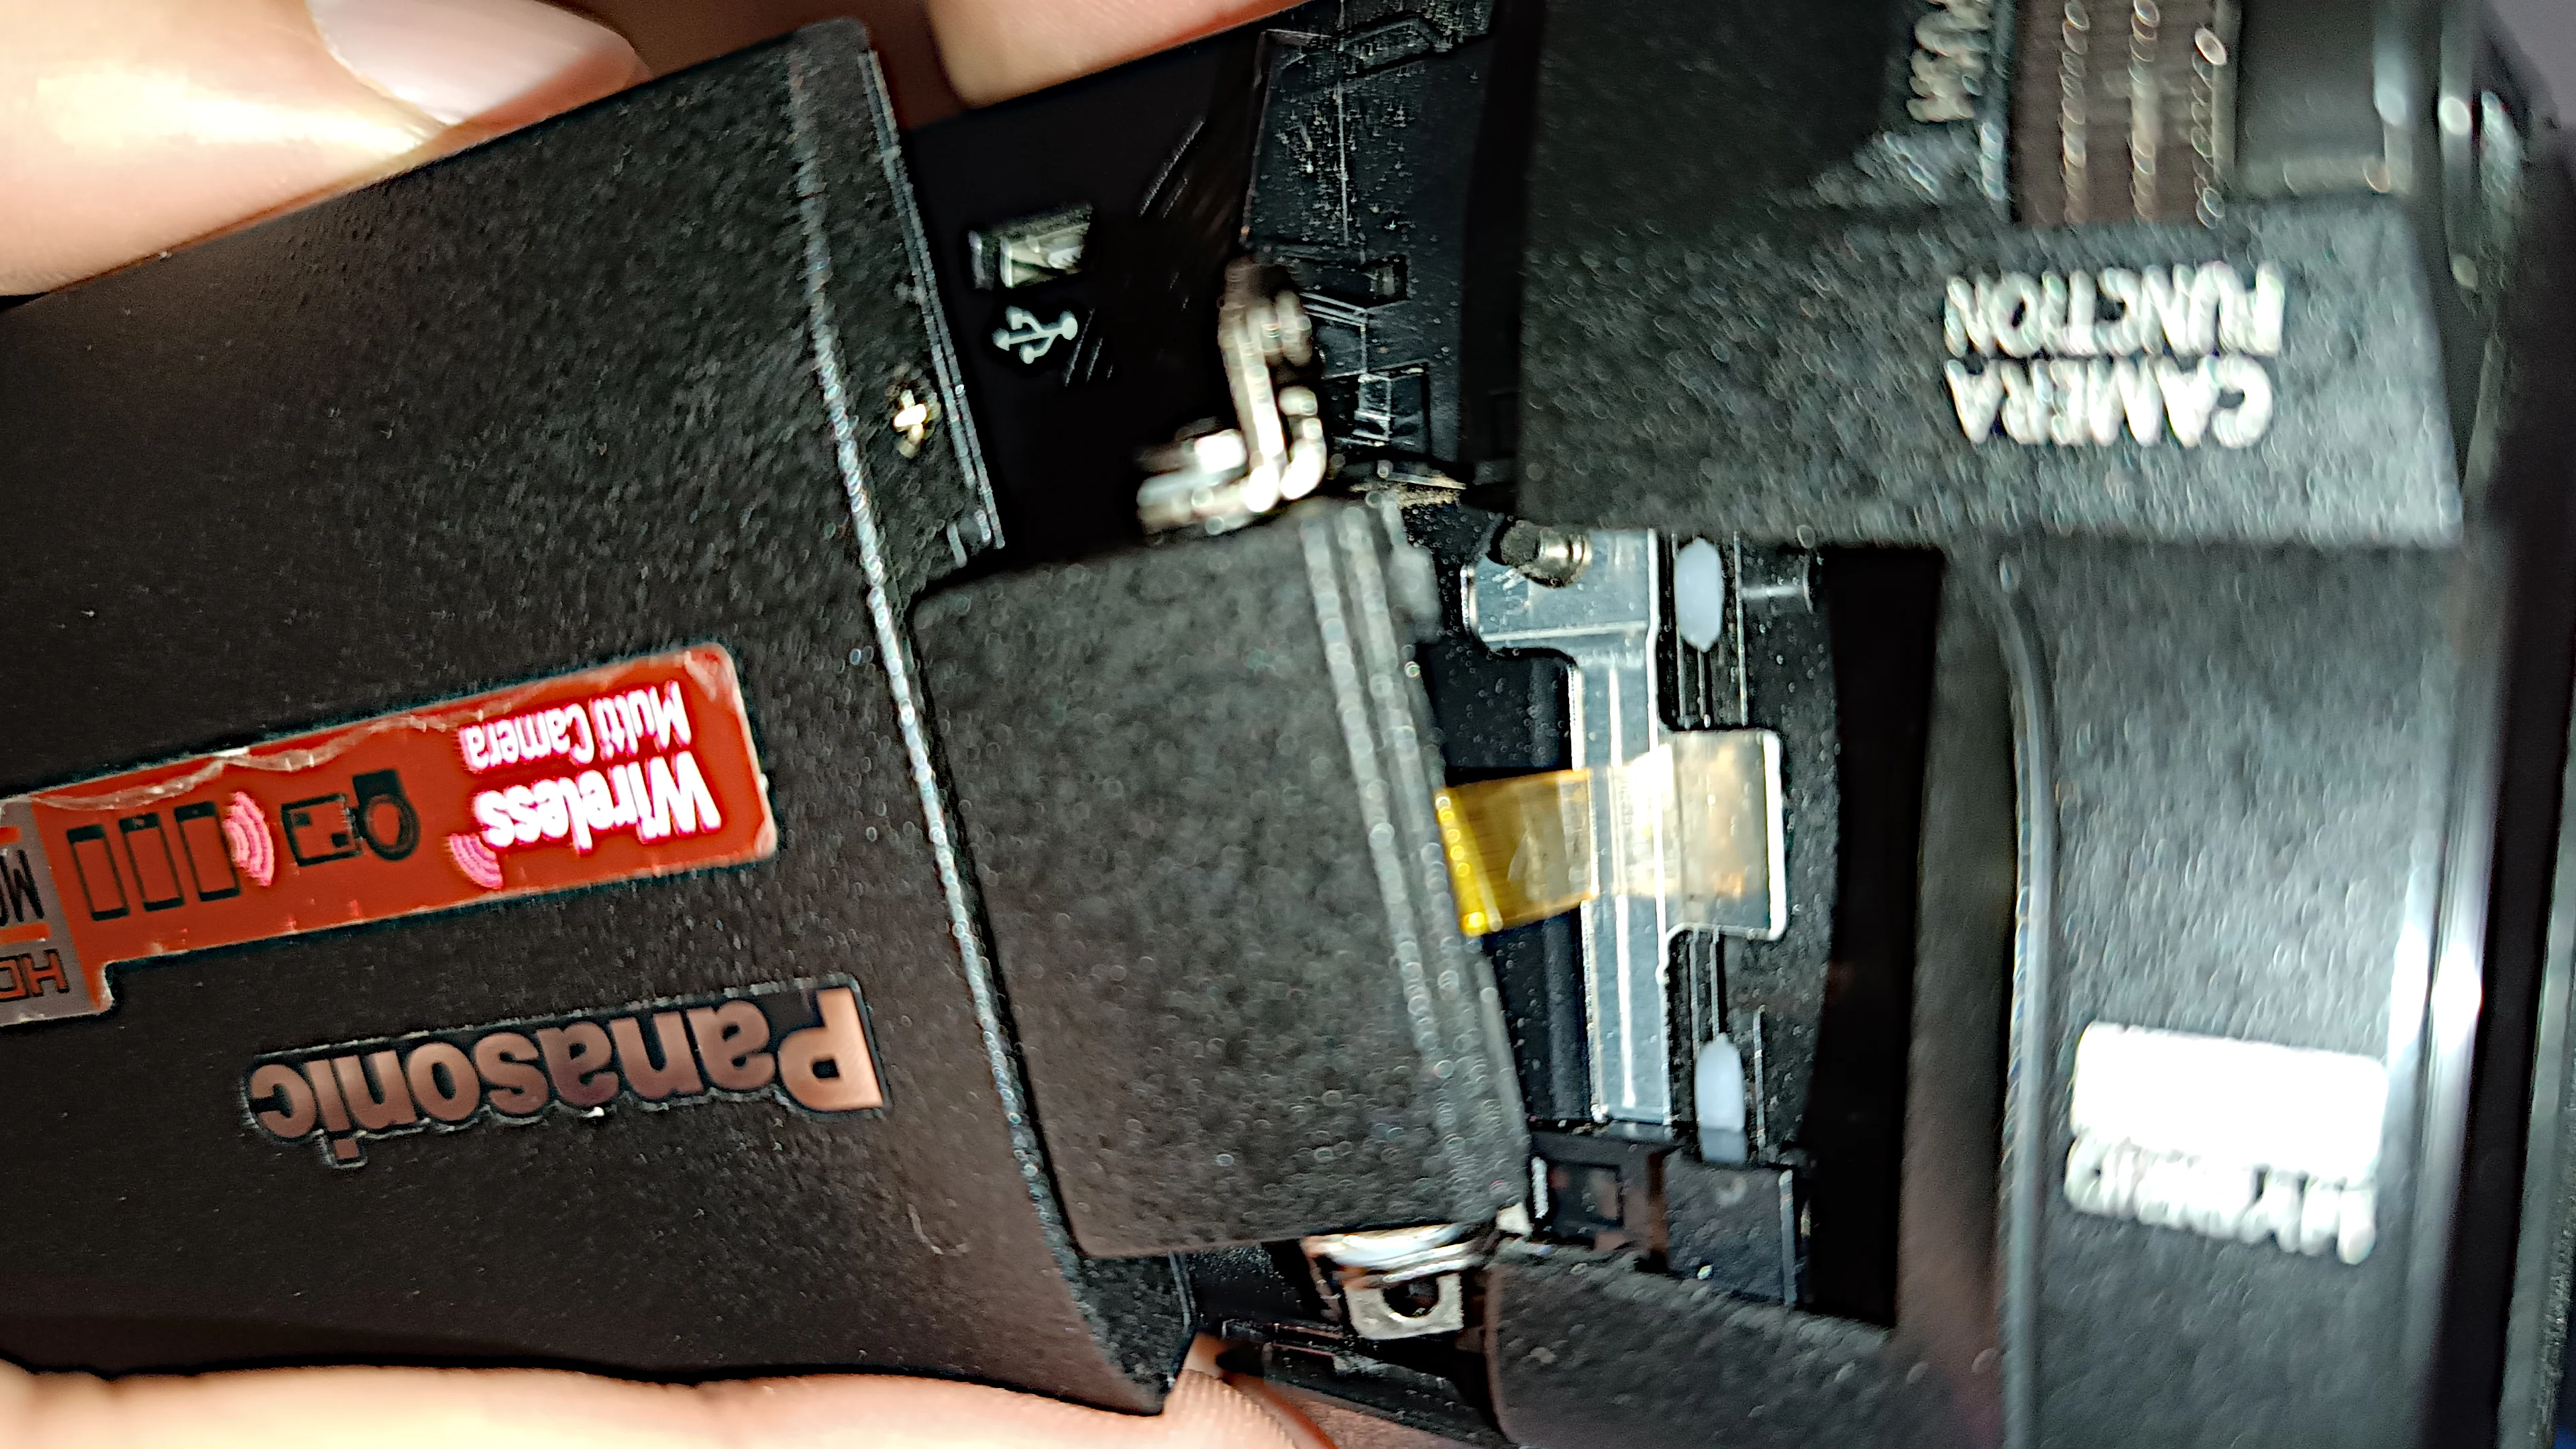
I have also cleaned the area around the rotating joint where the screen is fixed. I used a thin paper to get there and also blew some air there. The disassembling went smoothly. The parts should be gently removed, no force is necessary. I also disconnected the thin cable that connects the camera body with the top plastic part of the case with the zoom buttons. It is safe to do so and the cable can be easily reconnected into the socket. Be careful not to disconnect other cables. If you do so, nothing will happen but you need to reconnect them again. I have accidentally disconnected the microphone and had to open the body again. The cables also have a small blue plates at the ends which can be used to push the cable inside the socket. If the parts hold tightly, there are probably more screws somewhere. Don't worry about the lenses, I didn't have to open them so there is no danger of dust getting there. Don't forget to remove the battery first!
I hope this article is helpful to people like me who encounter the same problem. Below is a review I made for this cool 4K camcorder:
Keywords: camera repair, dismantling, tutorial
#camera #disassembly #camcorder
Privacy Terms